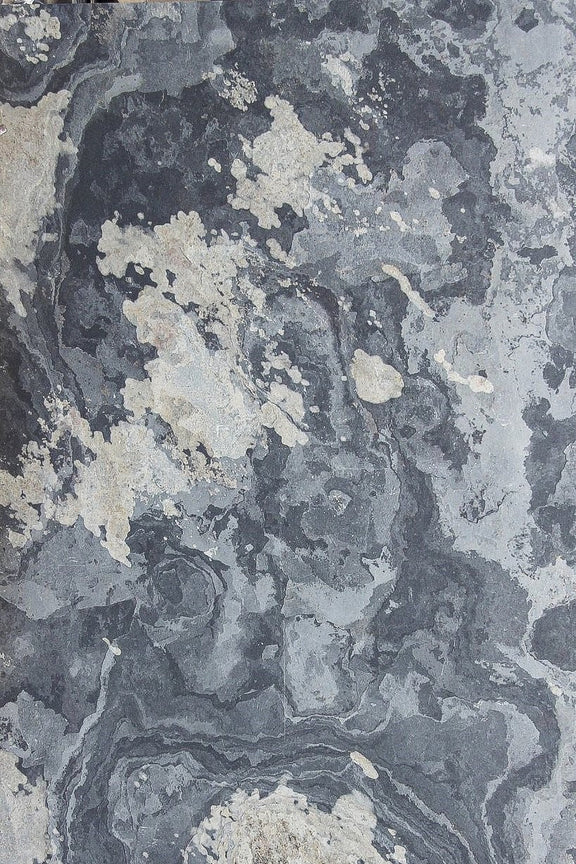
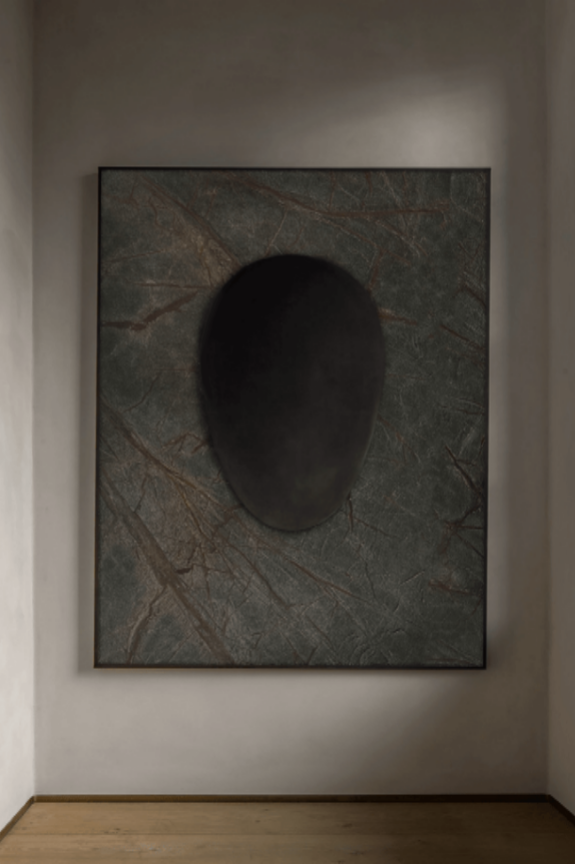


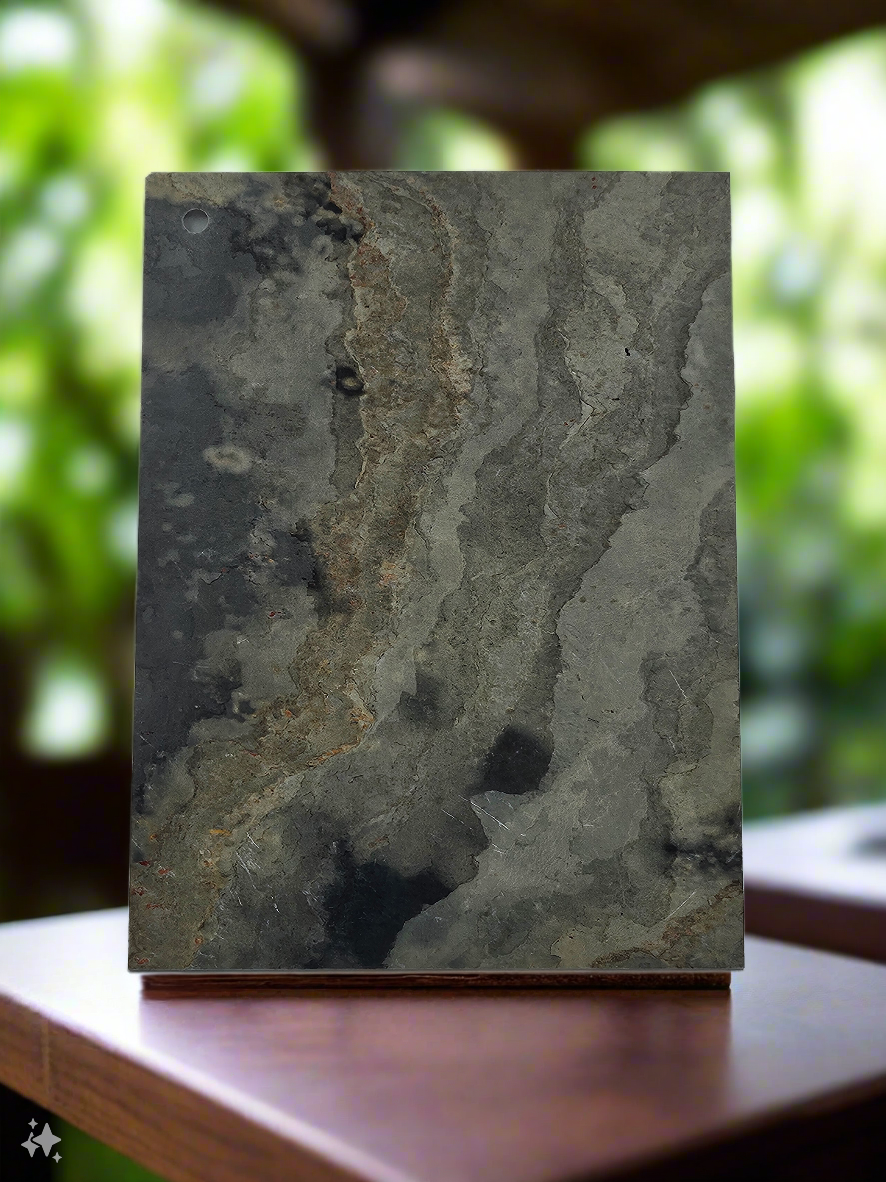
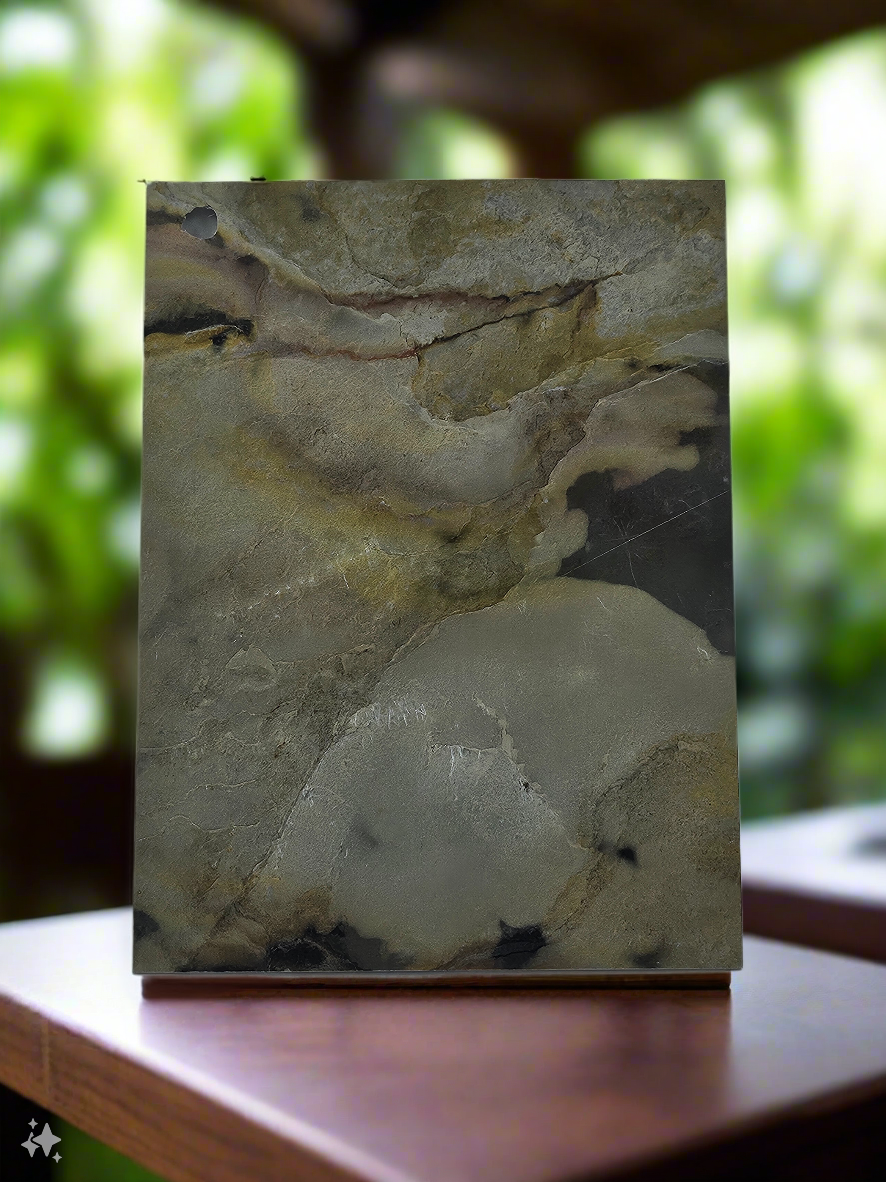
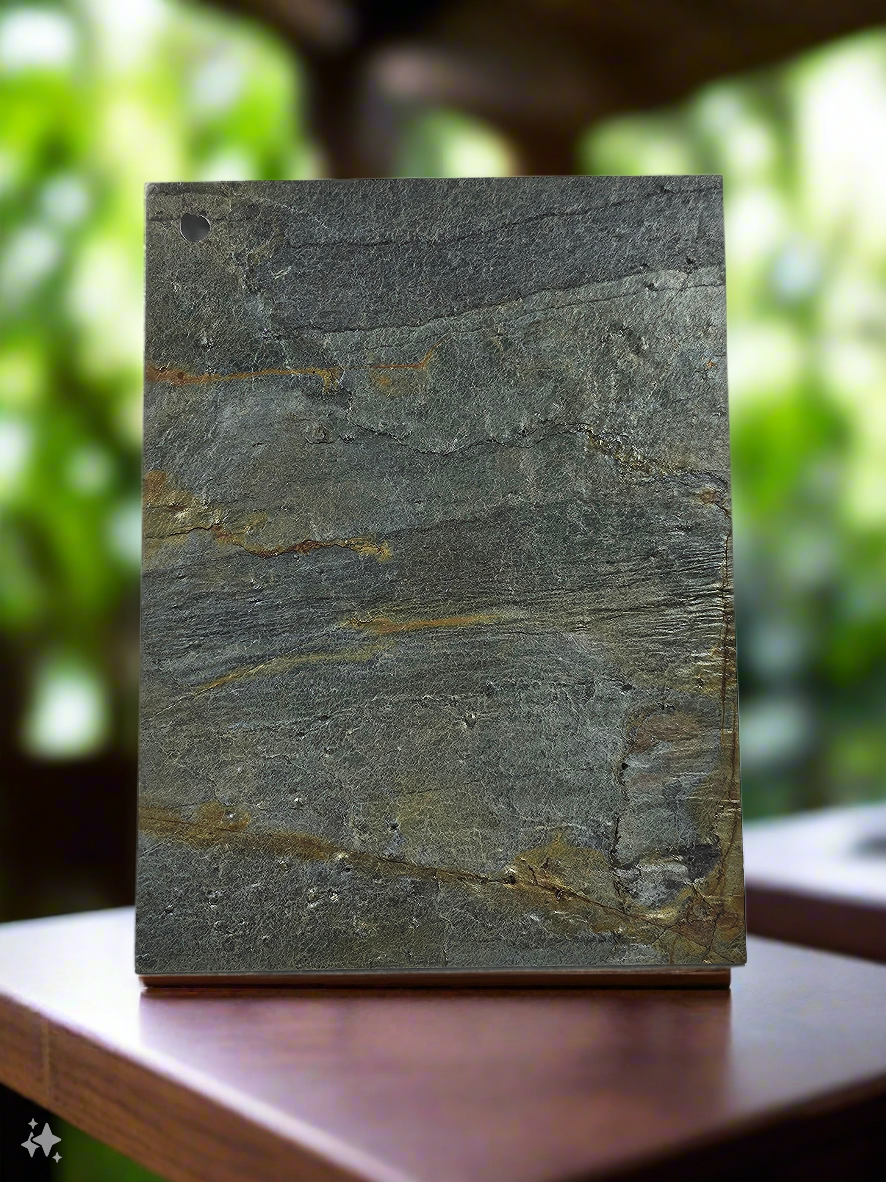
Are you looking to add the timeless beauty of natural stone to your home but don’t want the hassle or cost of hiring a professional? At Flexi Stones, we make it easier than ever to complete your own stone veneer project with our DIY-friendly flexible stone veneer. Whether you’re updating your kitchen backsplash, creating a feature wall, or enhancing your outdoor living space, our lightweight, flexible stone veneer allows for easy installation with stunning results.
In this blog post, we’ll walk you through the step-by-step process for installing flexible stone veneer on your own, saving you both time and money.
Why Choose Flexible Stone Veneer for DIY Projects?
Before we dive into the installation process, let’s talk about why flexible stone veneer is perfect for DIY enthusiasts:
-
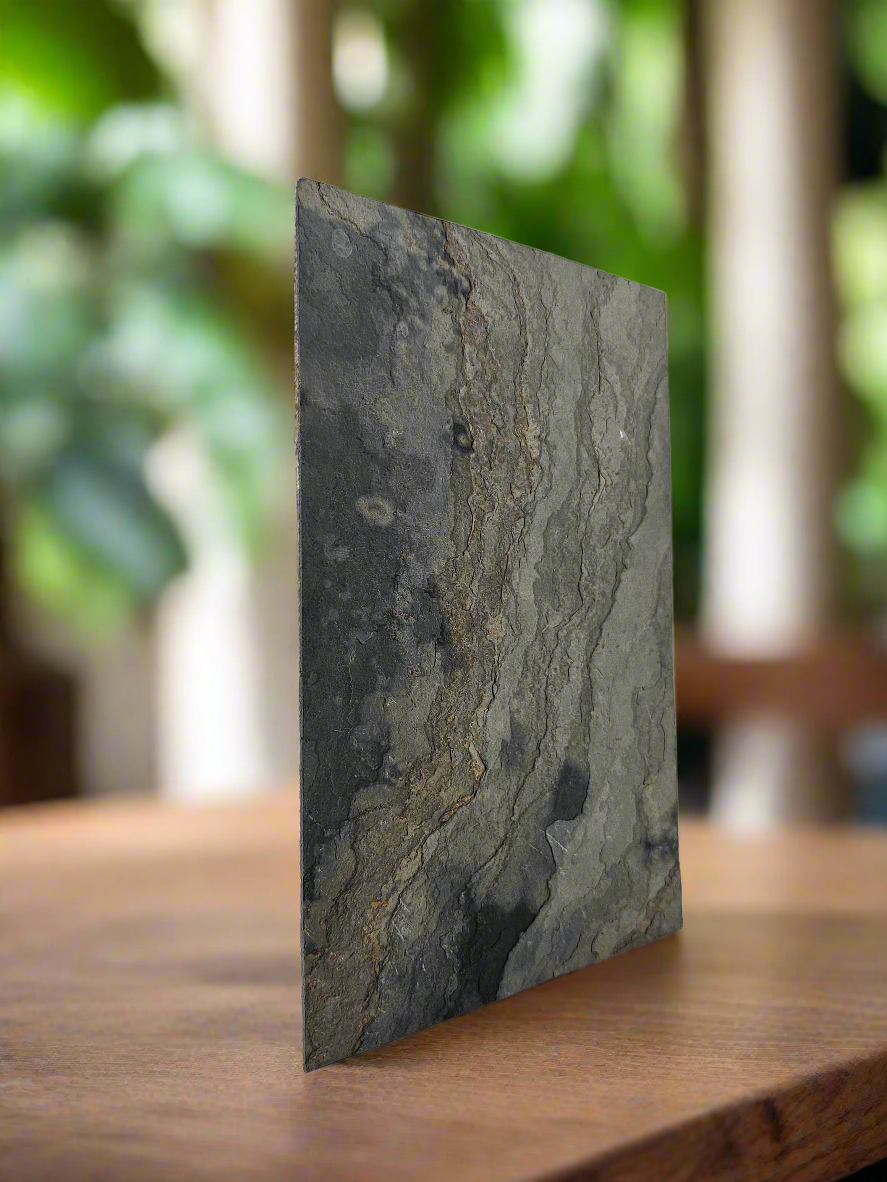
Lightweight and Easy to Handle: Unlike traditional stone, flexible stone veneer is thin and lightweight, making it much easier to transport, cut, and install without the need for heavy machinery.
-
Flexibility for Any Surface: Whether you’re working with curved walls, corners, or uneven surfaces, flexible stone veneer can easily conform to various shapes and surfaces, offering more design versatility.
-
Cost-Effective: Doing it yourself not only saves on labor costs, but our flexible stone veneer is also more affordable than full stone panels or traditional stone cladding.
-
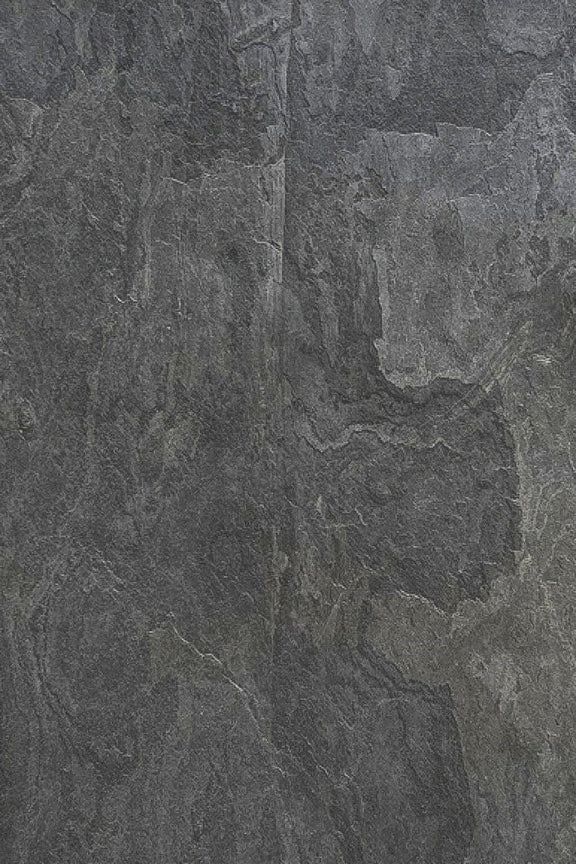
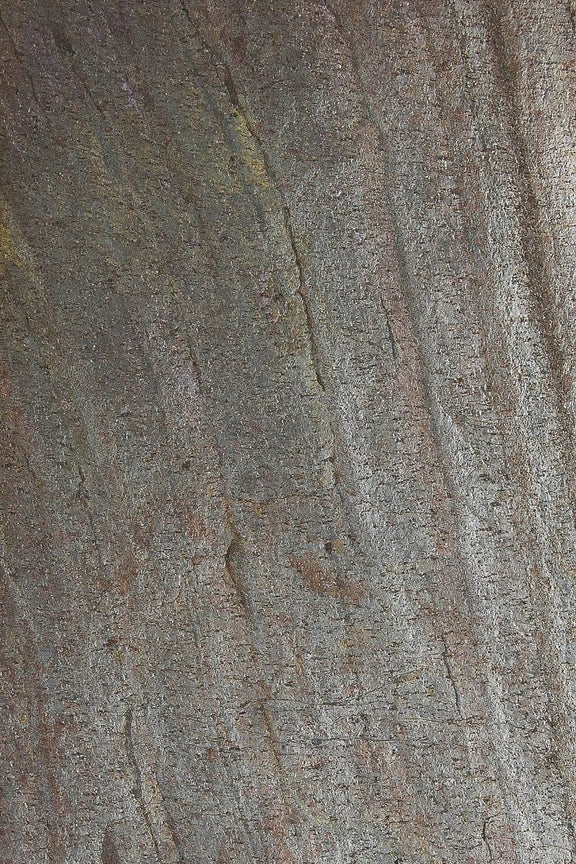
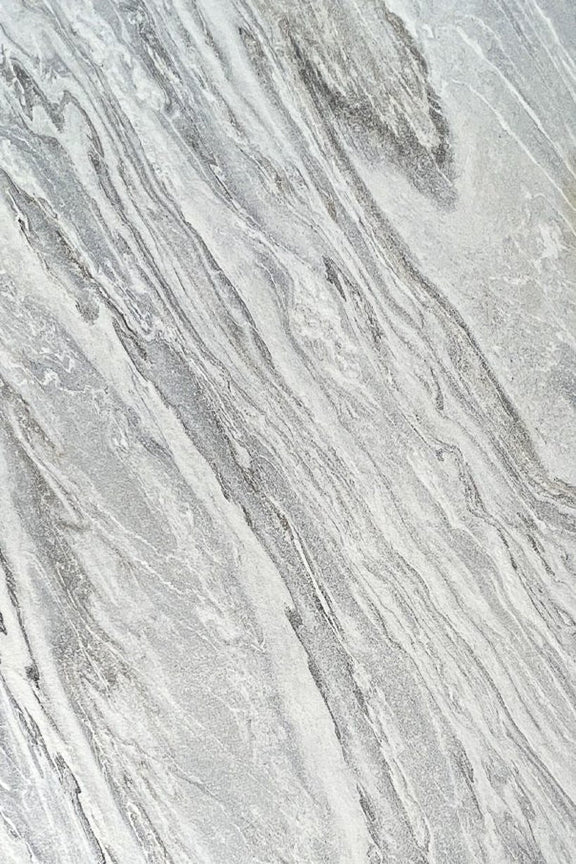
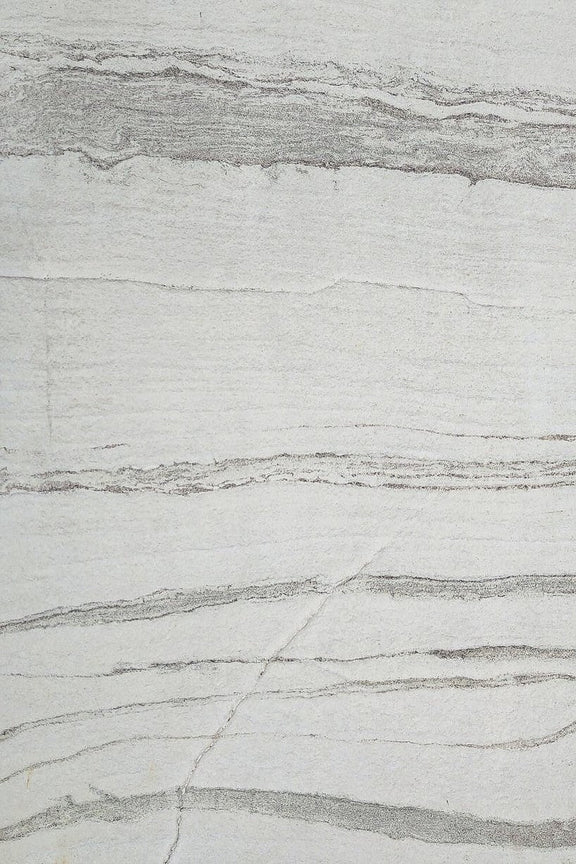
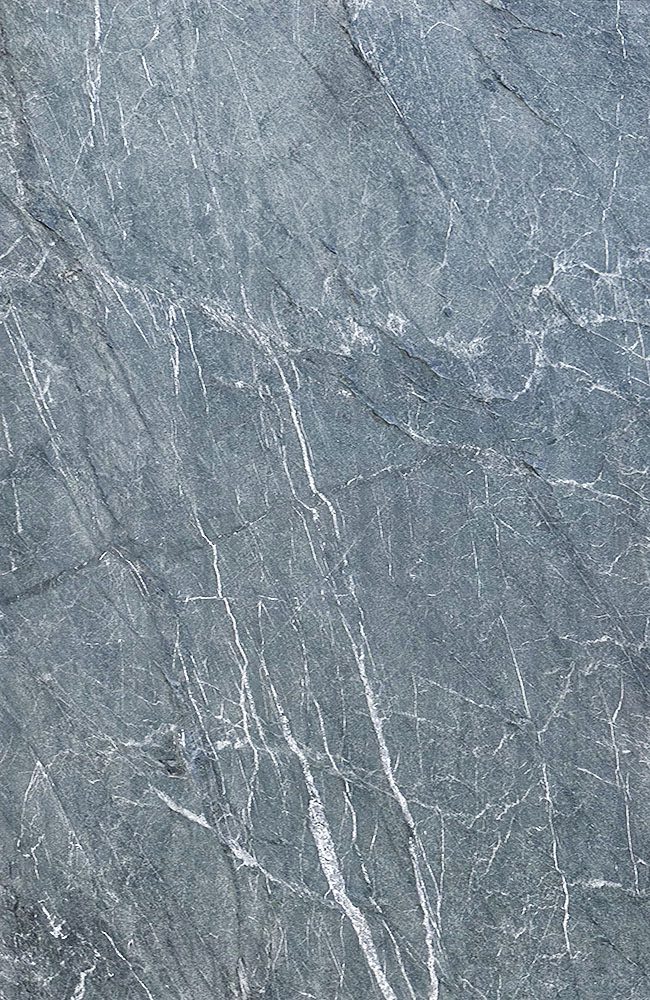
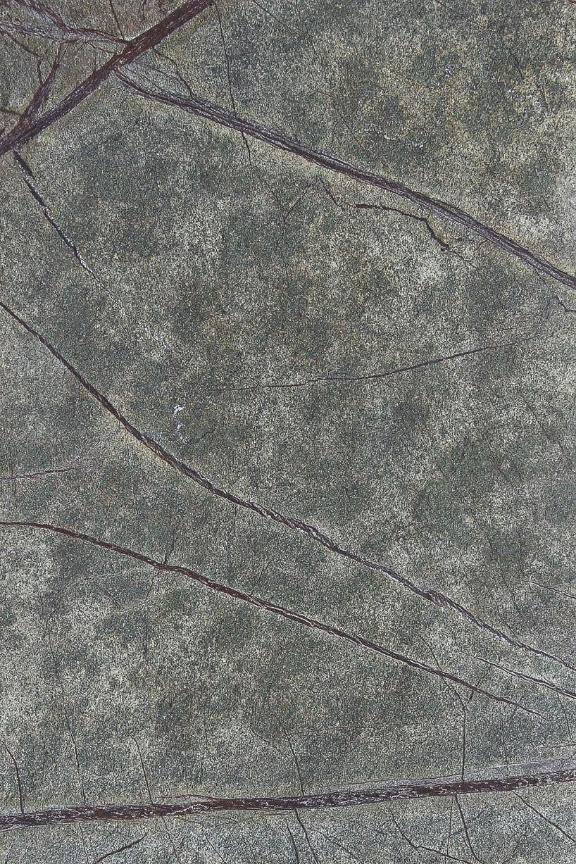
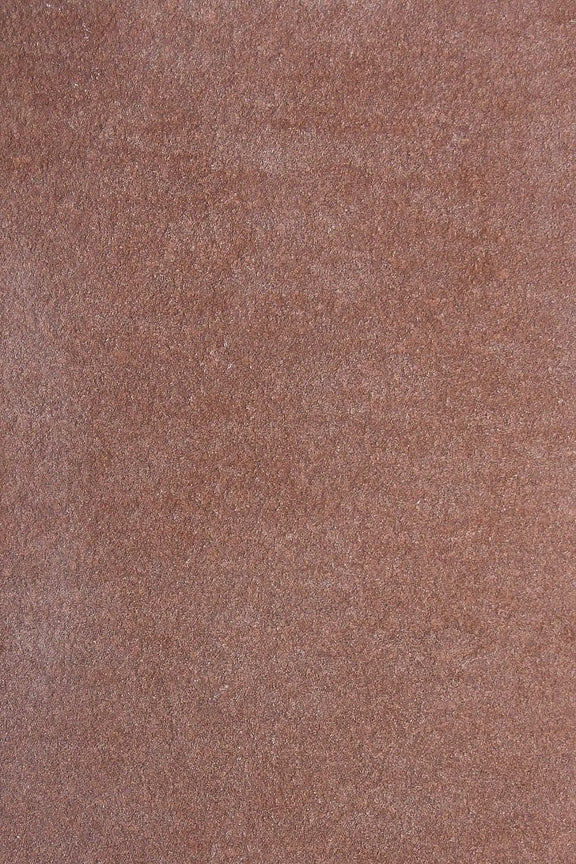
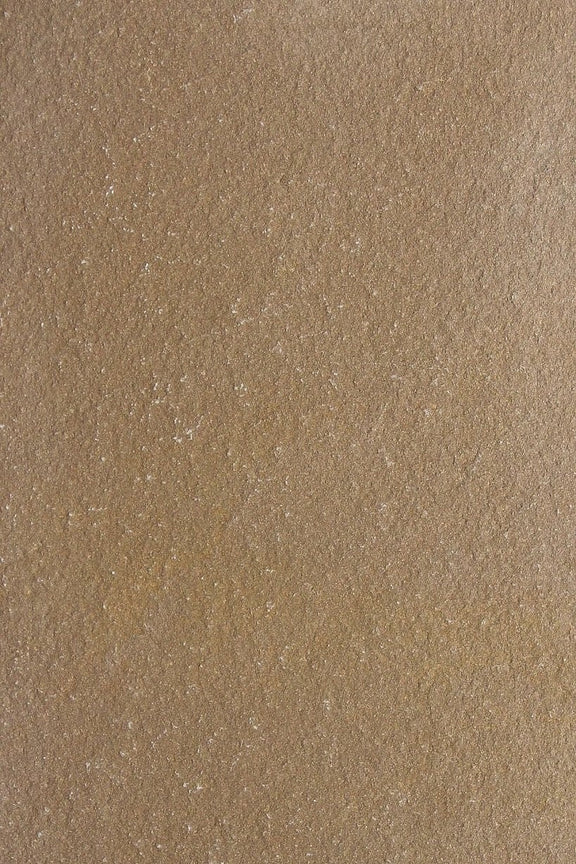
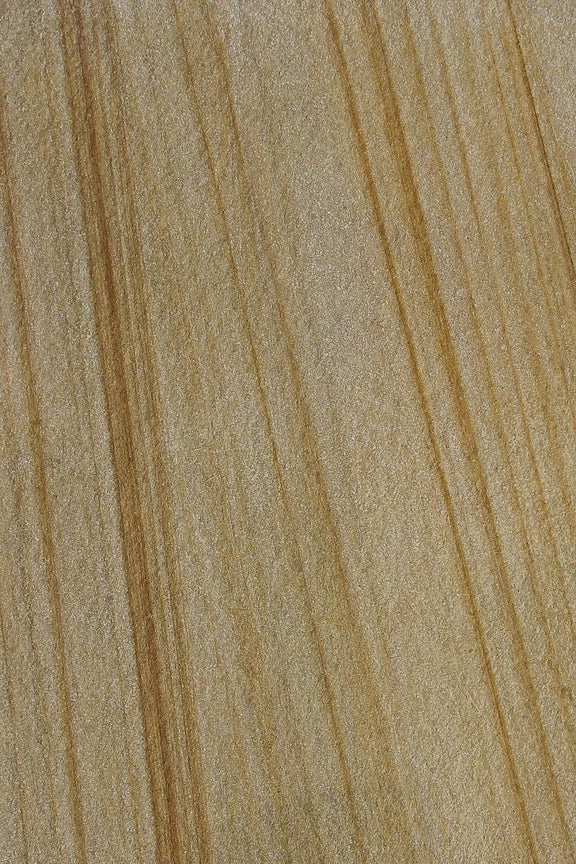
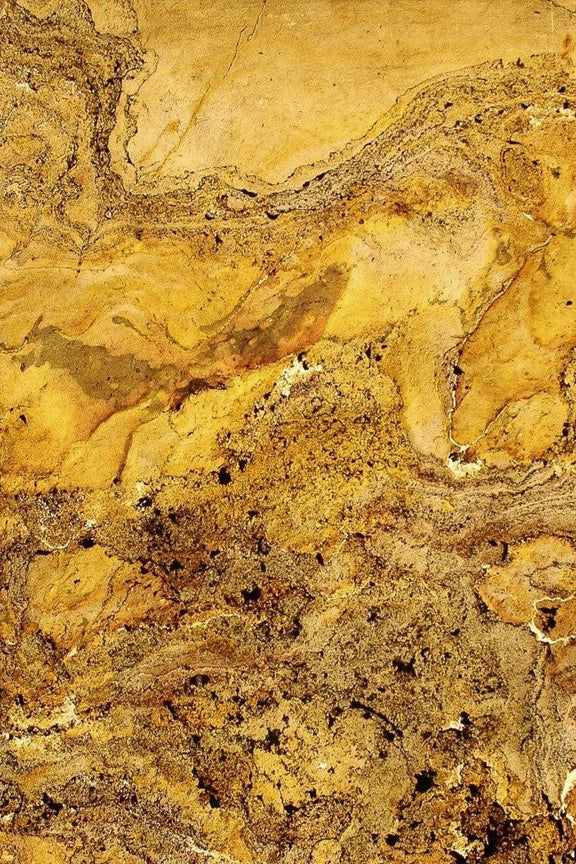
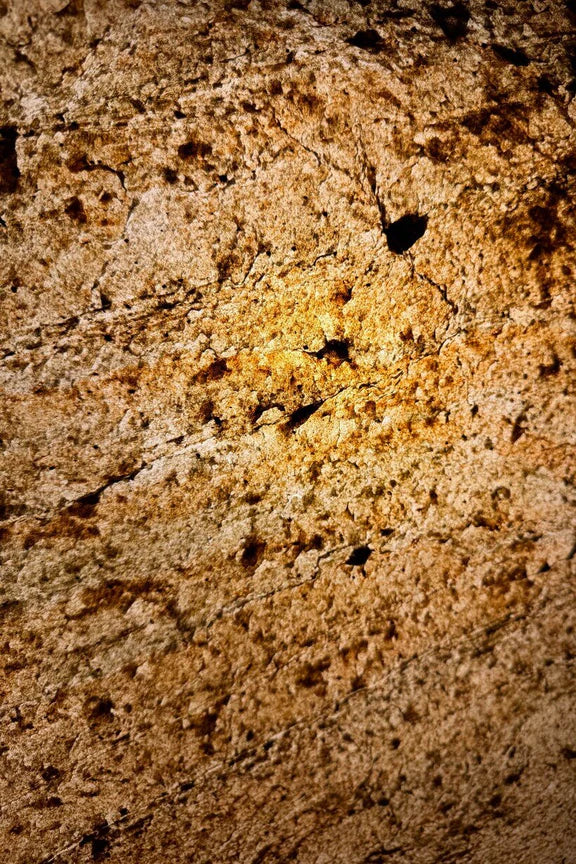
Authentic Natural Stone Look: Despite its flexibility and ease of installation, flexible stone veneer retains the authentic beauty and texture of natural stone, giving your project a high-end, professional finish.
Tools and Materials You’ll Need
Before you start, make sure you have the following tools and materials for a successful DIY project:
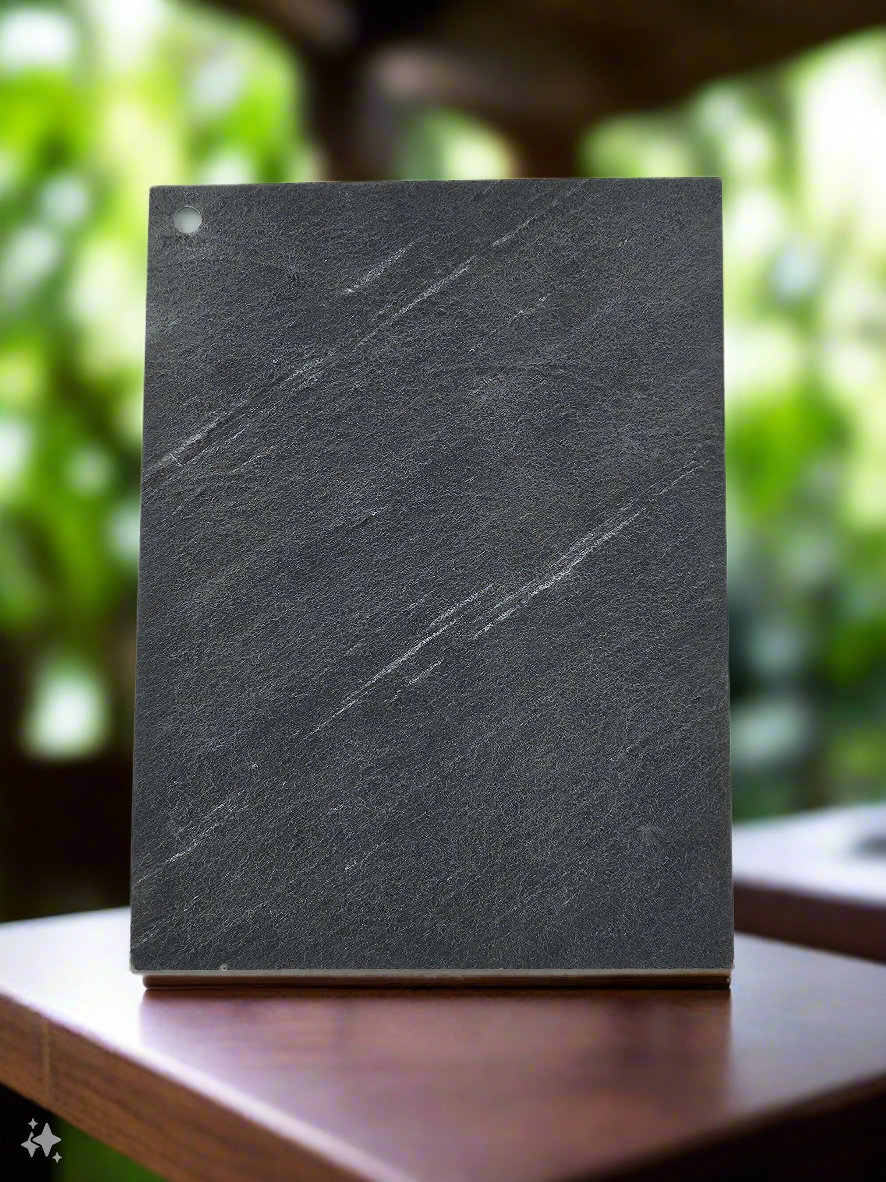
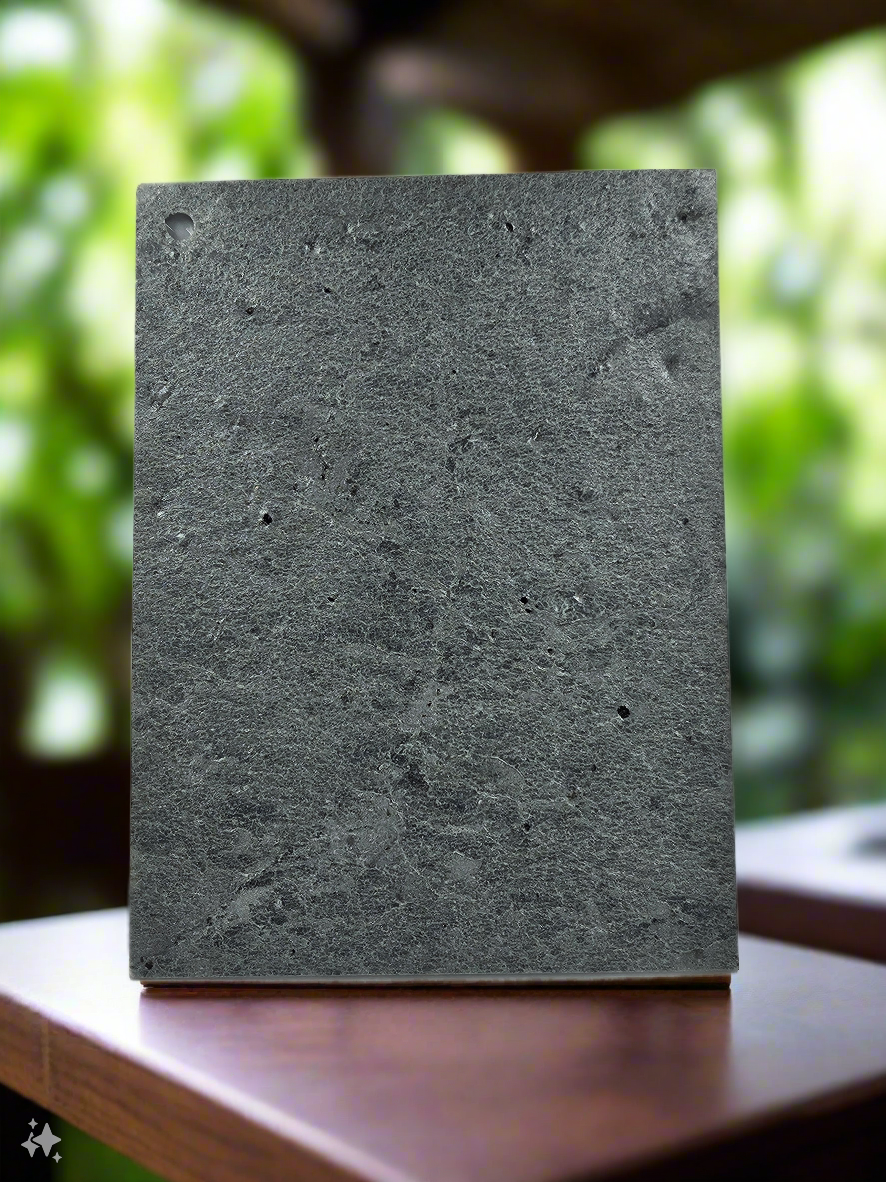
- Flexible stone veneer sheets (available at www.flexistones.com)
- Adhesive or thin-set mortar (depending on the surface)
- Trowel (for applying adhesive)
- Utility knife or tin snips (for cutting veneer sheets)
- Level
- Measuring tape
- Roller or squeegee (for smoothing out the veneer)
- Sealant (optional, for extra protection)
Step-by-Step Guide to Installing DIY Flexible Stone Veneer
1. Prepare the Surface
Ensure that the surface you are applying the stone veneer to is clean, dry, and free of debris. If you’re installing the veneer on drywall or painted surfaces, consider roughing up the surface slightly with sandpaper to help the adhesive bond better. If you're applying it on exterior surfaces or wet areas (like bathrooms), use a moisture-resistant backer board.
2. Measure and Cut the Veneer
Measure the area where the veneer will be installed, and cut the flexible stone veneer sheets accordingly. Use a utility knife or tin snips to make precise cuts. Our flexible stone veneer is thin and easy to cut, so you won’t need any heavy-duty tools.
If you’re working around corners or edges, you may need to cut the veneer sheets at an angle to ensure a seamless fit.
3. Apply the Adhesive
Using a notched trowel, apply the recommended adhesive (or thin-set mortar) to the surface where you’ll be installing the veneer. Be sure to apply an even layer, covering the entire area where the stone veneer will be placed.
Pro Tip: Follow the manufacturer's instructions for your adhesive to ensure the best bond. Some adhesives may need to be applied directly to the back of the stone veneer, depending on the surface.
4. Place the Veneer on the Wall
Once the adhesive is in place, carefully position the flexible stone veneer sheet onto the wall. Use your hands to press it firmly into the adhesive
, ensuring that the entire surface of the veneer is in contact with the adhesive. Start from one corner and work your way across the surface, pressing out any air bubbles that may form under the veneer.
5. Smooth the Veneer
Use a roller or squeegee to gently smooth out the veneer, making sure it adheres evenly to the surface. This will also help to eliminate any air pockets and ensure a flat, smooth finish. If you're working on a large wall or surface, repeat this process with each sheet of flexible stone veneer, making sure the seams line up seamlessly.
6. Cut Around Obstacles
If you encounter obstacles such as electrical outlets, light switches, or windows, measure the area precisely and cut the veneer to fit around them. Since flexible stone veneer is easy to cut, this step is quick and simple compared to traditional stone products.
7. Seal the Veneer (Optional)
For added durability, especially in high-traffic areas or outdoor installations, consider applying a stone sealant to the veneer after it has fully adhered to the surface. This will protect the veneer from moisture, stains, and wear over time. Follow the manufacturer’s instructions for applying the sealant.
8. Enjoy Your DIY Masterpiece
Once the adhesive has dried and any optional sealant has been applied, your installation is complete! You can now step back and admire the beautiful, natural stone finish that you’ve achieved on your own.
Popular DIY Applications for Flexible Stone Veneer
Now that you know how to install flexible stone veneer, here are some popular DIY projects where you can use it to enhance your home’s design:
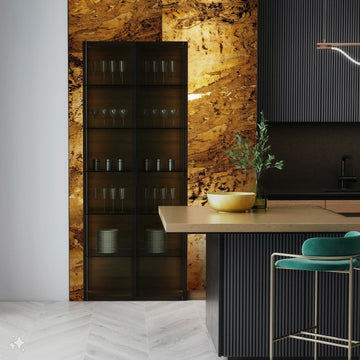
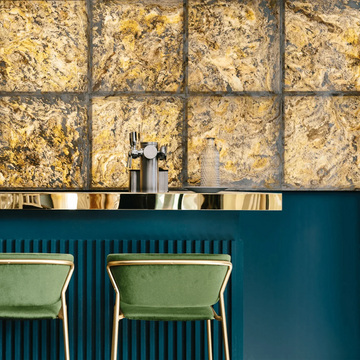
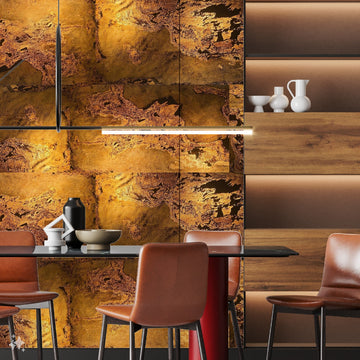
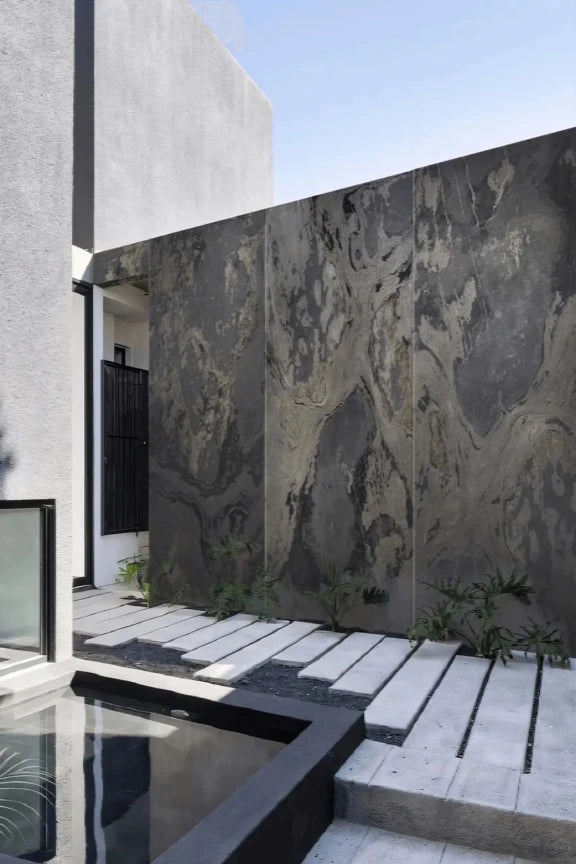
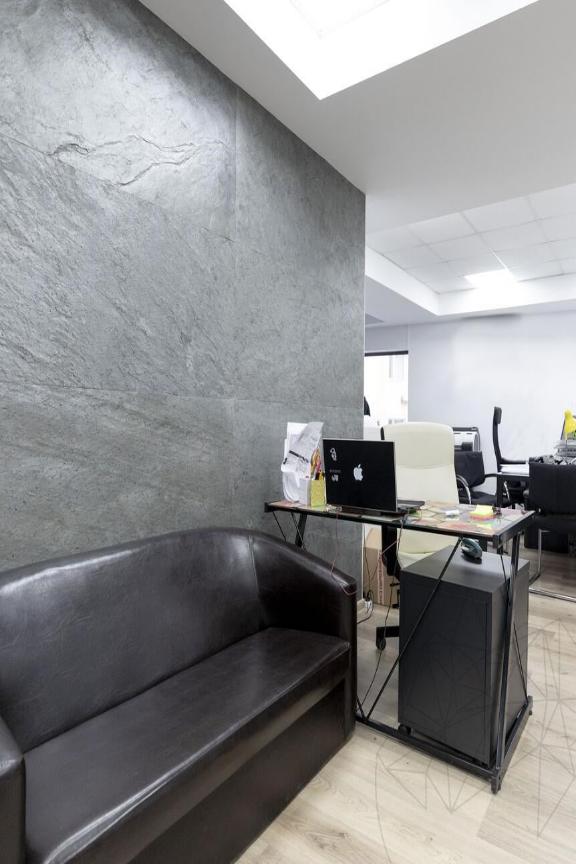
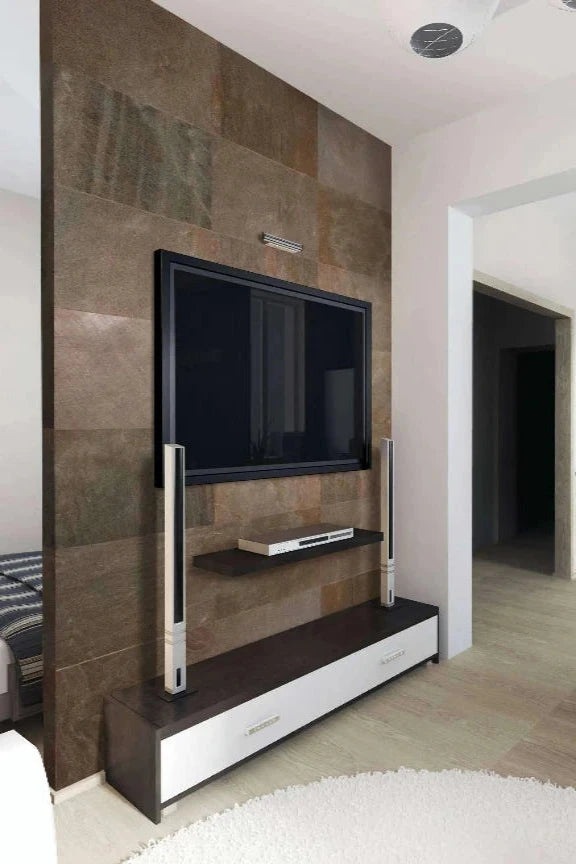
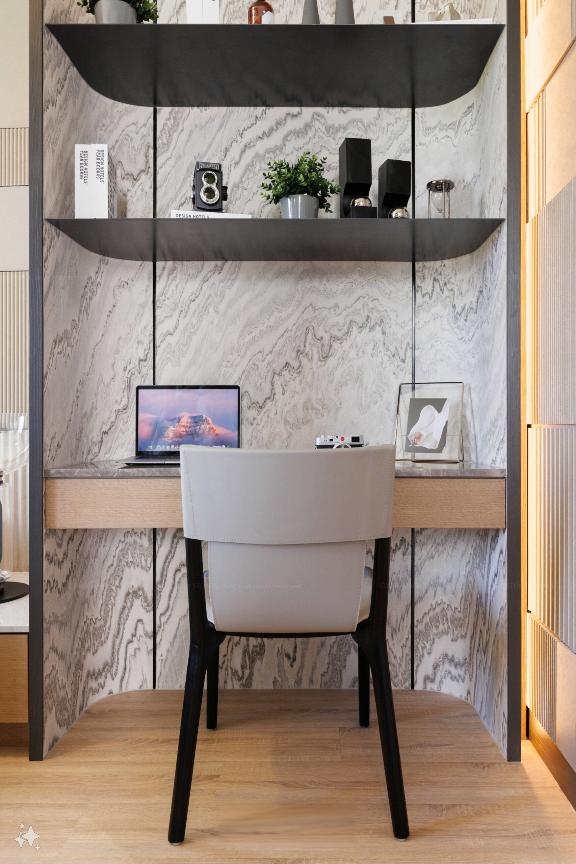
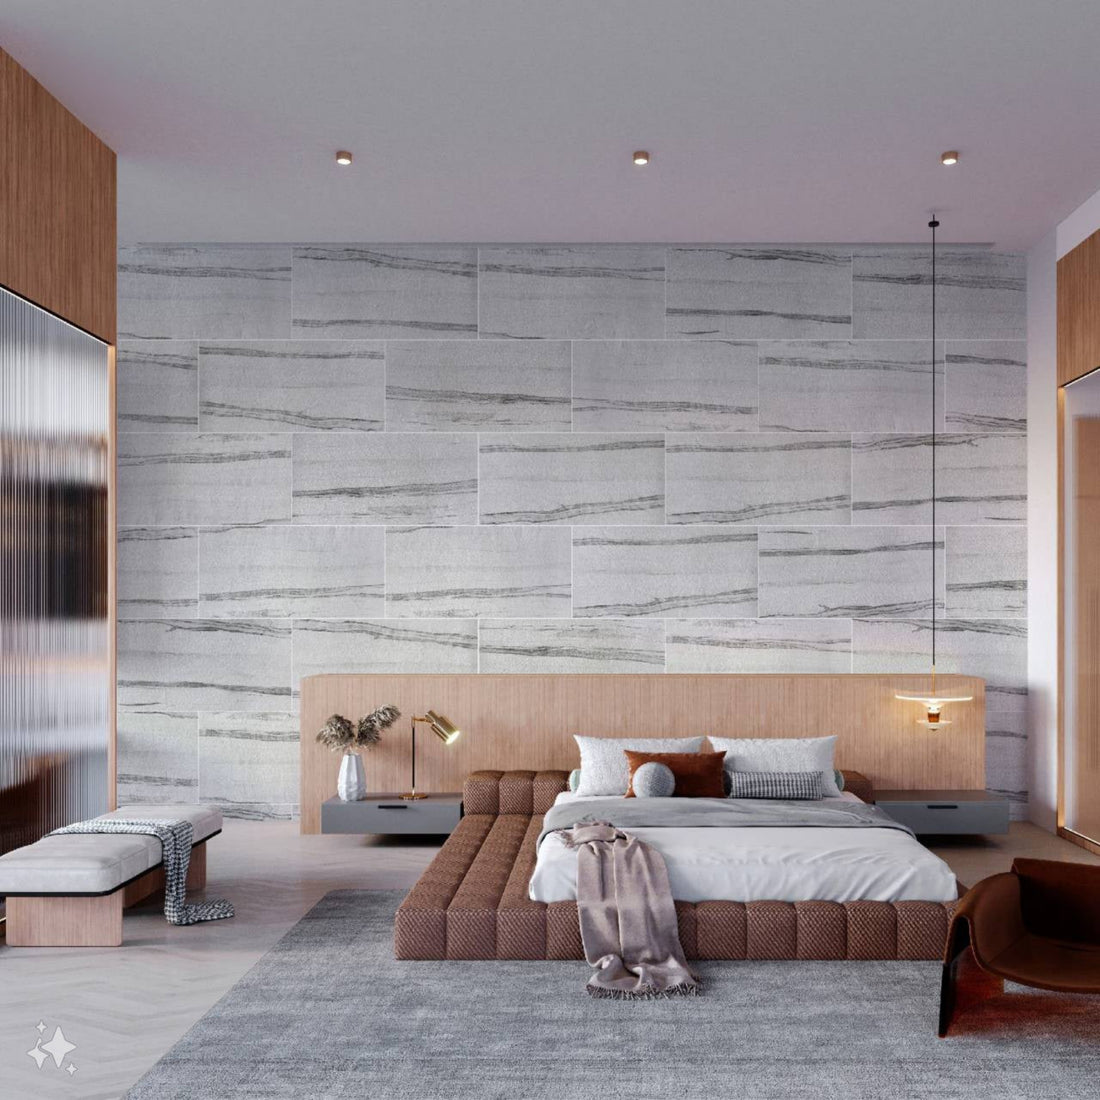
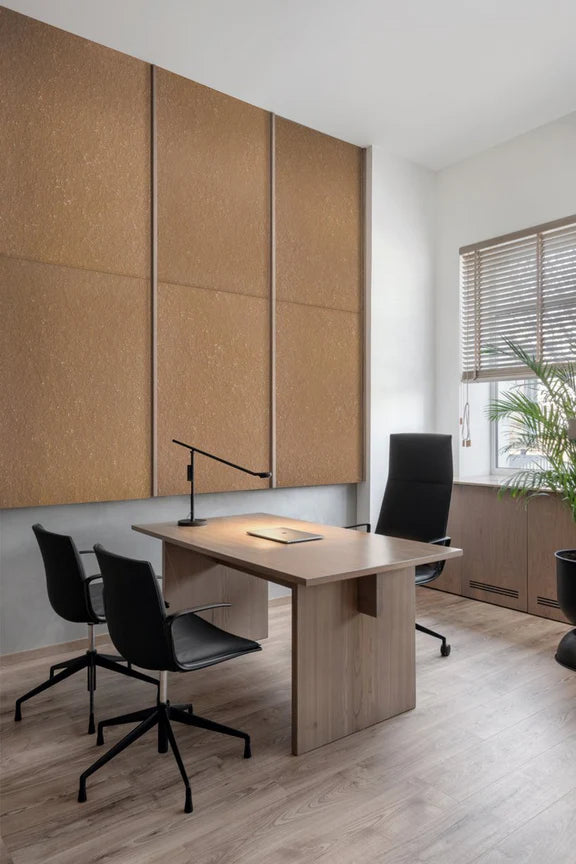
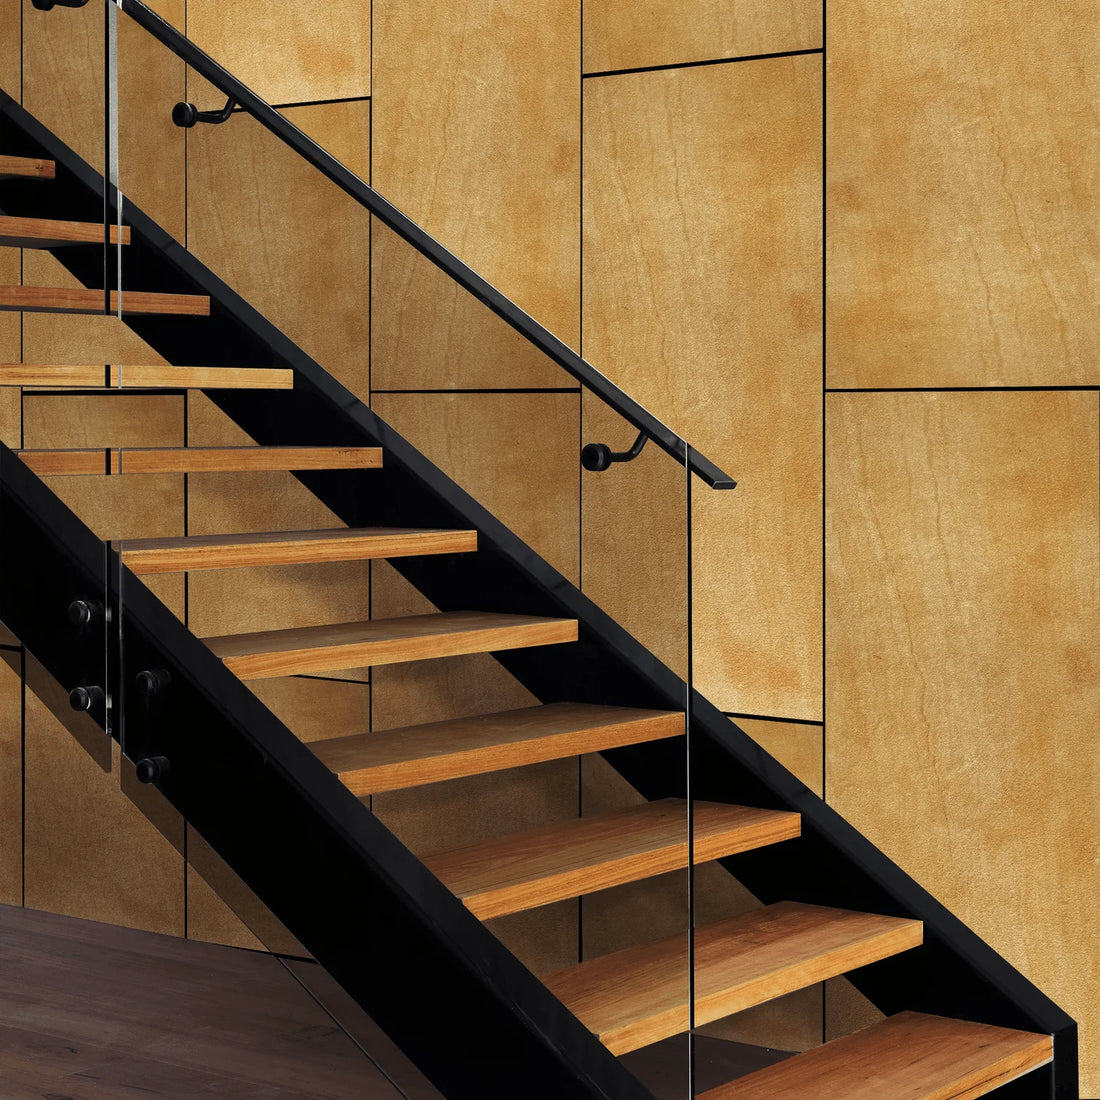
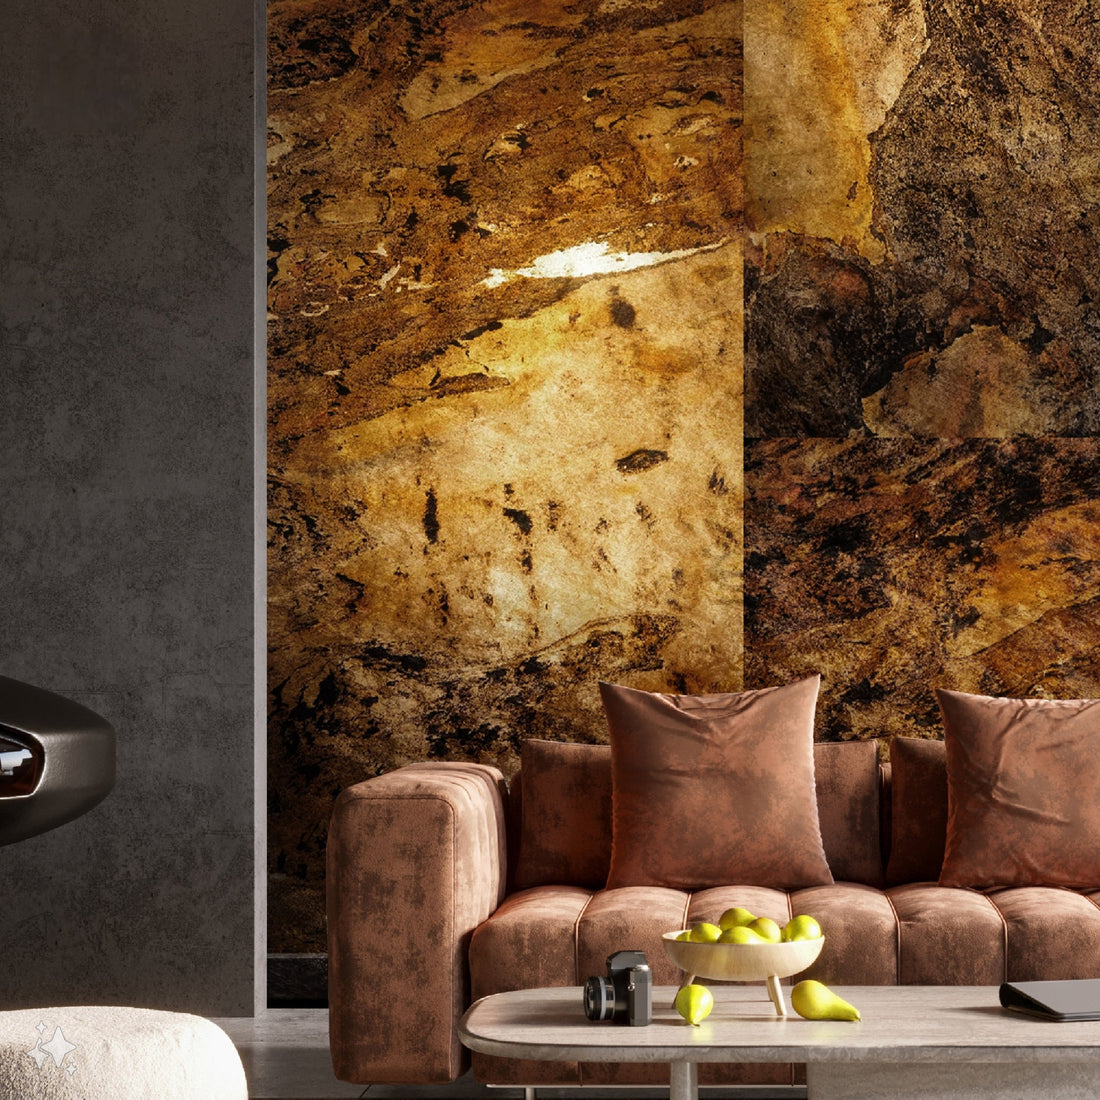
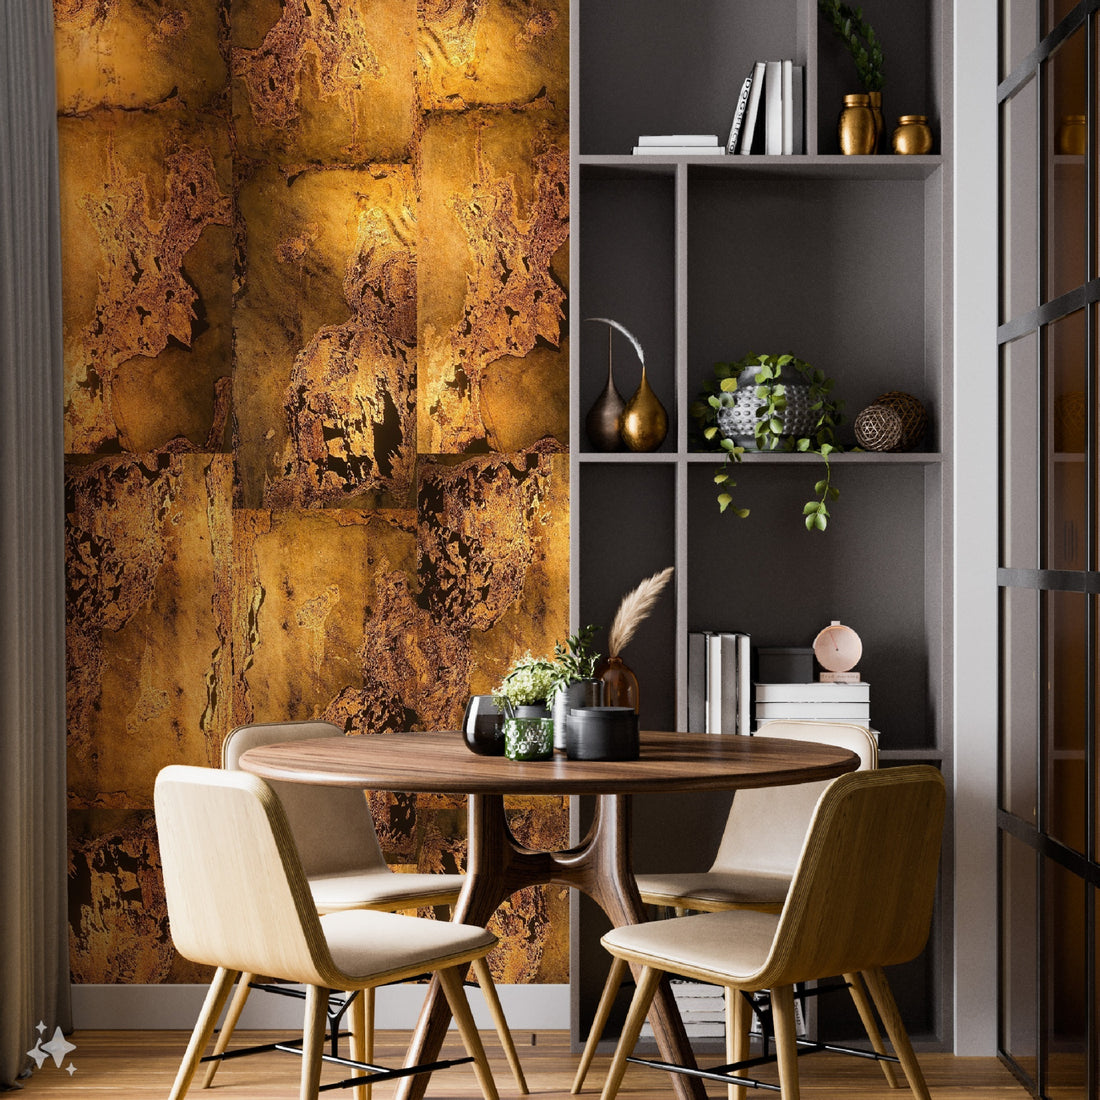
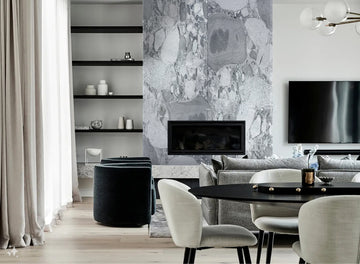
- Accent Walls: Create a stunning focal point in your living room, bedroom, or dining area with a DIY stone veneer accent wall.
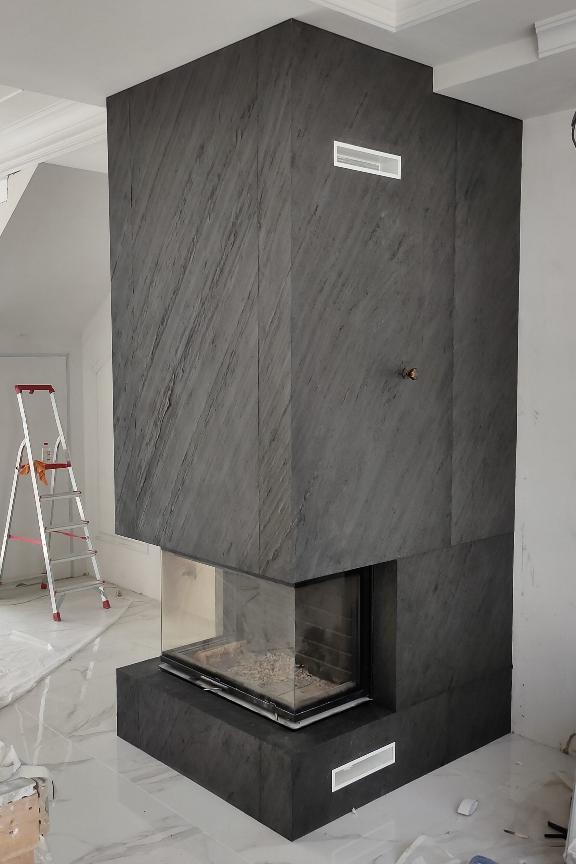
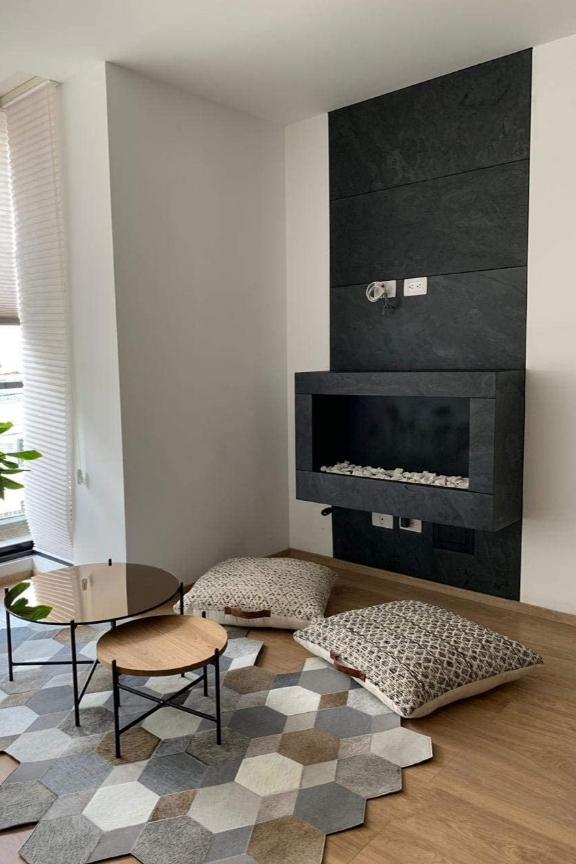
- Fireplace Surrounds: Transform your fireplace into a rustic, modern, or traditional masterpiece with flexible stone veneer.
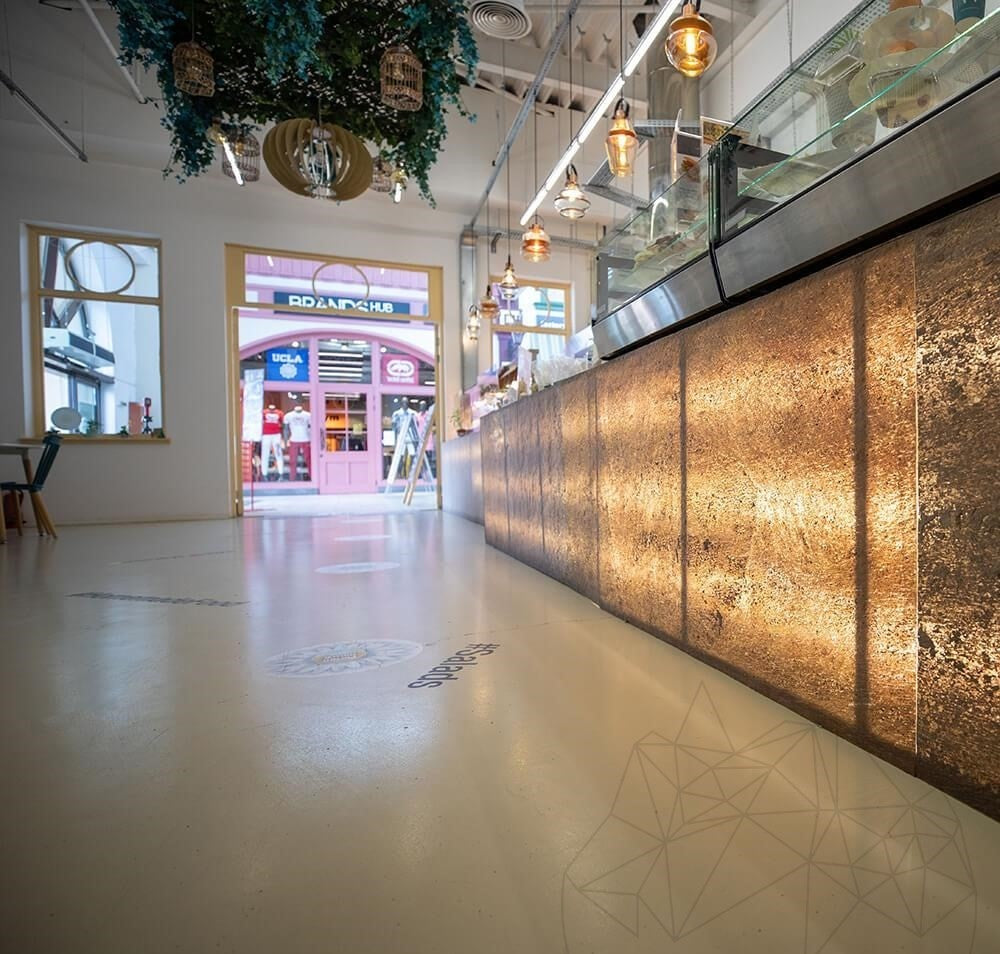
- Kitchen Backsplashes: Add texture and elegance to your kitchen by installing stone veneer behind your countertops.
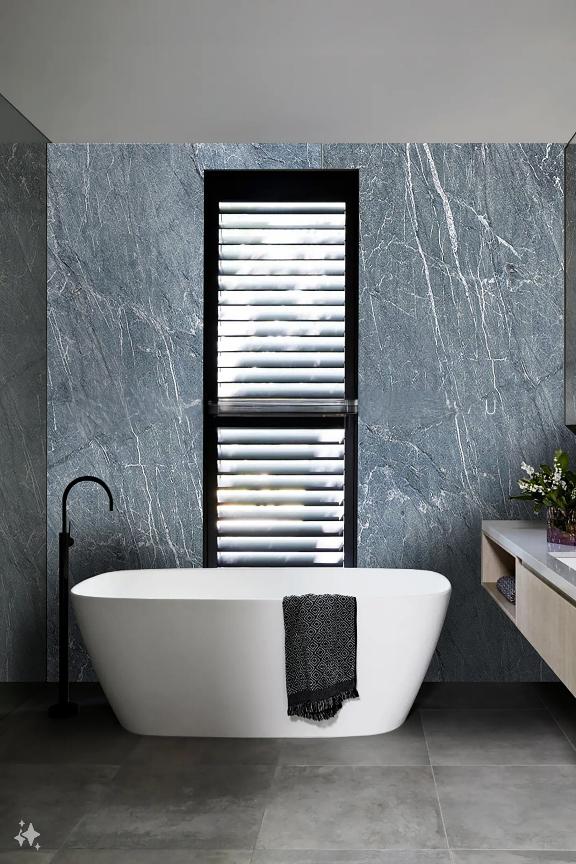
- Bathroom Walls: Give your bathroom a spa-like feel with water-resistant flexible stone veneer that’s perfect for wet areas.
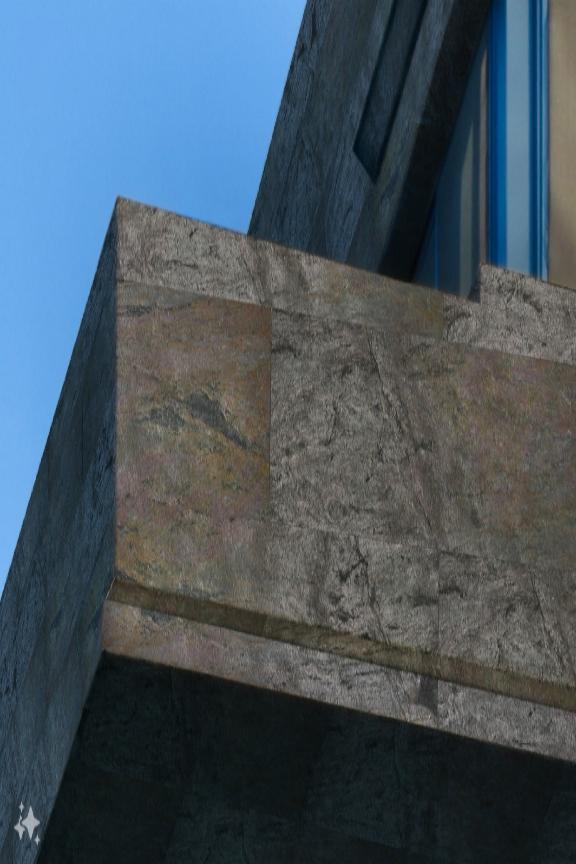
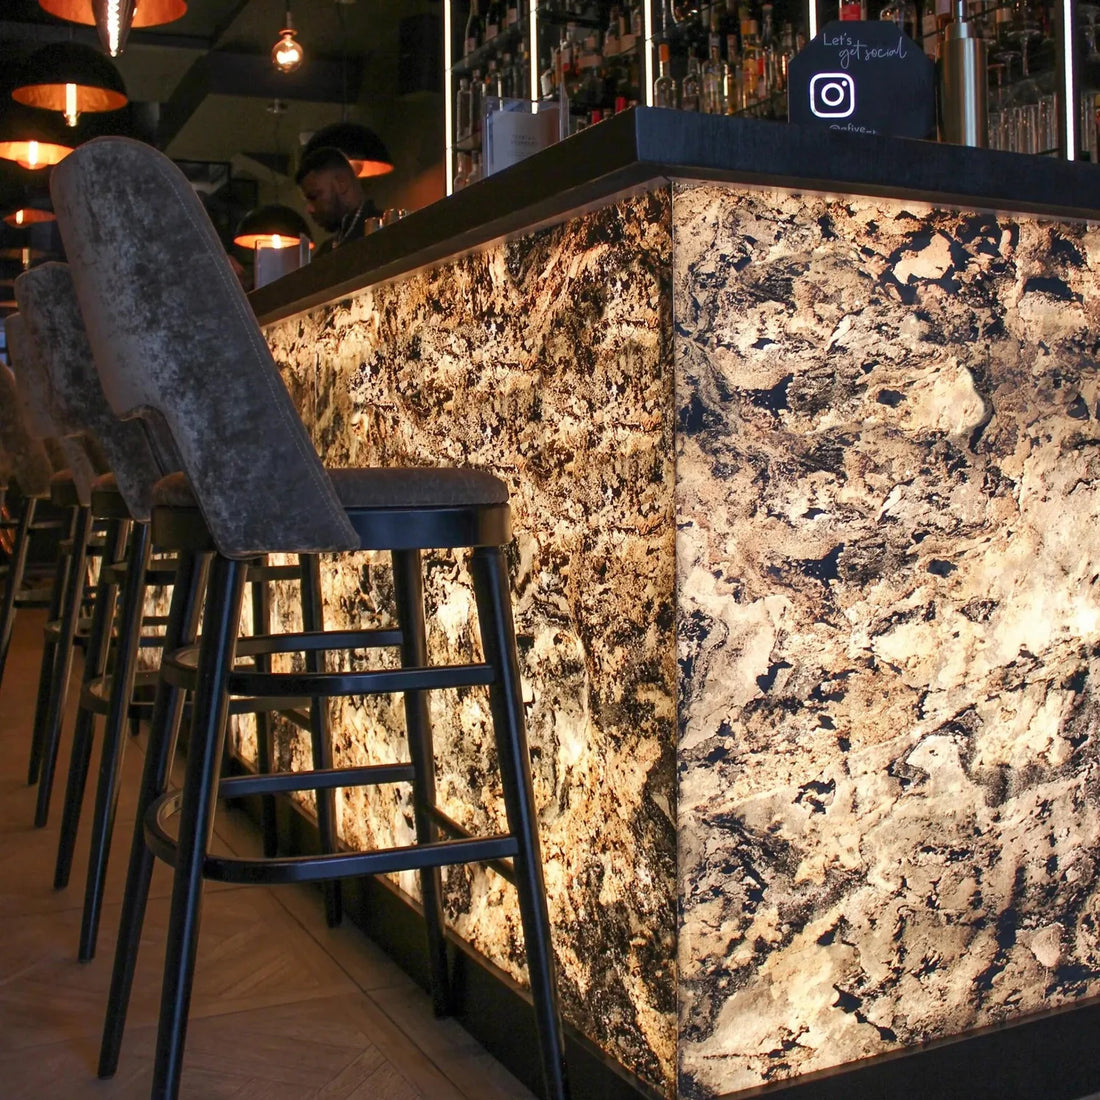
- Outdoor Features: Use stone veneer to create outdoor elements like retaining walls, patios, or garden features for a natural look.
Why Choose Flexi Stones for Your DIY Projects?
At Flexi Stones, we pride ourselves on offering DIYers the best materials for their projects. Here’s why we’re the go-to choice for flexible stone veneer:
- Premium Quality: Our stone veneer is made from high-quality natural stone, ensuring a beautiful and durable finish for any project.
- Easy to Work With: Our flexible veneer sheets are lightweight and easy to cut, making them perfect for DIY projects.
- Affordable Pricing: We offer competitive prices, so you can complete your project without exceeding your budget.
- Fast Shipping: We deliver nationwide, ensuring your materials arrive quickly so you can get started on your project right away.
- Expert Support: Our team is always available to answer questions and provide tips to help you succeed in your DIY projects.